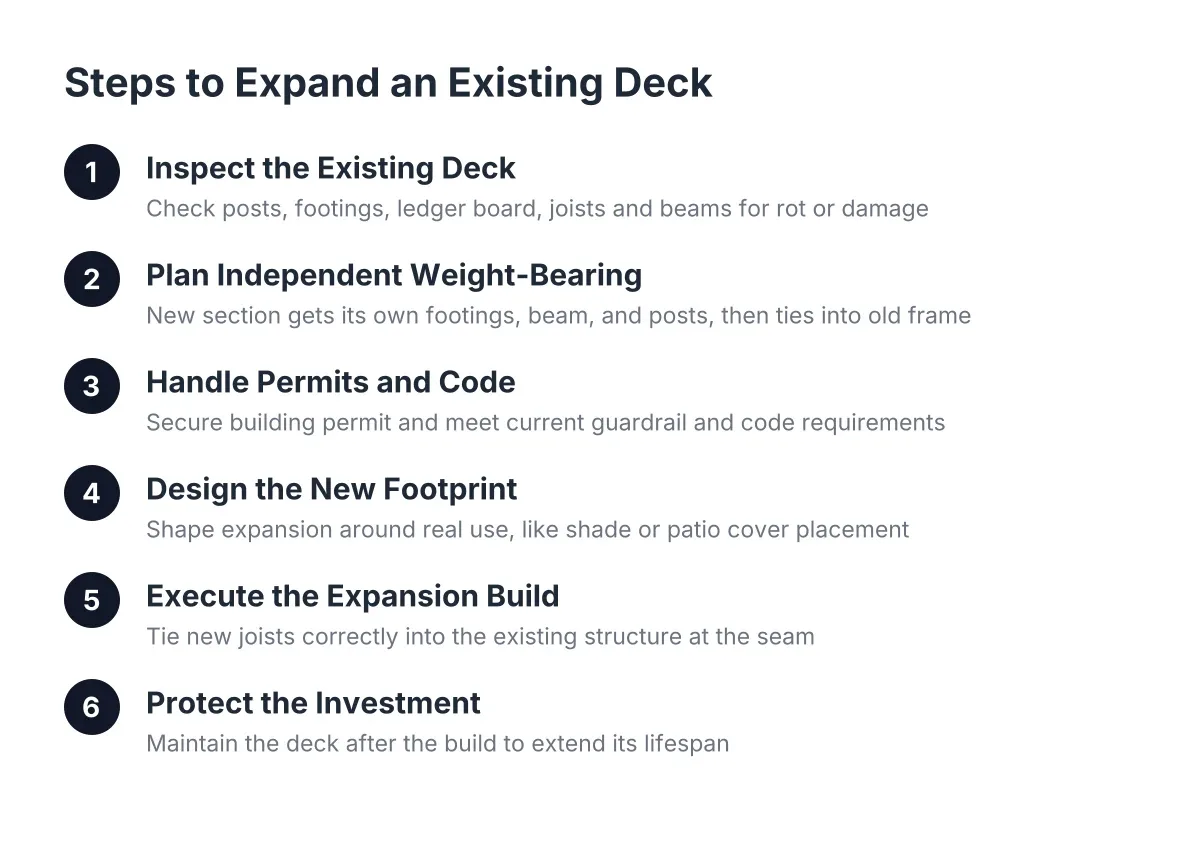
The Step-by-Step Process for Expanding an Existing Deck in Ontario, CA
Most homeowners searching for a way to enlarge a deck run into the same problem: plenty of articles cover how to build a deck from scratch, but almost none explain the expanding existing deck process for expanding an existing deck safely. That gap matters, because the single most common failure in deck expansions is the connection point where new framing meets old. Get that joint wrong and the whole addition can pull away, sag, or fail under load. This guide walks Ontario, California homeowners through the full sequence, from inspecting your current structure to tying in new joists correctly, so you know exactly what a competent deck builder should be doing and what questions to ask before anyone drives a single screw.
Step 1: Inspect the Existing Deck Before You Plan Anything
Start with an honest assessment of what you already have. An expansion is only as strong as the structure it attaches to, and this is where most projects should either move forward or change direction entirely.
According to the North American Deck and Railing Association (NADRA), an estimated 30 million of the more than 60 million decks in the United States are past their useful life and need repair or replacement. If your deck is 15 or more years old, there is a real chance it belongs in that group.
Check these areas closely:
- Posts and footings: Look for posts sitting directly on soil, footings that have heaved or sunk, and rust on post bases.
- The ledger board: This is the board attaching the deck to your house. Probe it with a screwdriver. Soft wood, missing flashing, or nails instead of lag screws or structural bolts are all red flags.
- Joists and beams: Look underneath for sagging, splitting, water staining, or dark rot at the ends where joists meet the ledger or beam.
- Decking and railings: Soft spots underfoot and wobbly railings usually point to problems in the framing below, not just the surface.
Here is the honest trade-off: if the existing frame is rotting or undersized, expanding it wastes money. Bolting new construction to failing framing gives you a bigger deck that fails sooner. In that case, a full deck replacement often costs less over ten years than an expansion plus the repairs that follow. A local deck builder in Ontario, CA can tell you within one site visit which side of that line your deck falls on, and this is one inspection worth having a professional perform rather than judging soft spots yourself.
Step 2: Decide How the Expansion Will Carry Its Own Weight
This is the step that separates a safe deck expansion from a future insurance claim, and it is the detail many general contractors get wrong. New framing should never hang its full load off the old frame.
The old deck was engineered, or at least built, to carry its own joists, decking, and people. It was not sized to carry a second deck cantilevered off its rim joist. The correct approach for most deck size expansion projects is to build the new section so it supports itself on its own posts and footings, then tie it to the existing frame so the two structures move together.
In practice, that means:
- New footings poured to depth on the outer edge of the expansion, sized for the load above them.
- A new beam and posts carrying the new joists, so the addition stands on its own.
- A structural connection at the seam, using through-bolts and joist hangers rated for the load, not deck screws or nails.
- Matching joist direction and elevation so decking runs cleanly across the seam, or a deliberate level change with a proper step.
For example, suppose a homeowner in Ontario, CA wants to extend a 12-by-12 wood deck another 8 feet toward the yard. The right build removes the outer rim boards, sisters new joists alongside the old ones or hangs them from a shared flush beam, and lands the new outer edge on fresh footings. The wrong build, which shows up on repair calls constantly, simply bolts a new rim to the old one and hopes the original posts carry double the load. They will not, at least not for long.
Step 3: Handle Permits and Code Requirements in San Bernardino County
Do not skip this step, even for a modest expansion. In Ontario, California, deck additions above a certain height or size typically require a building permit, and the expansion has to meet current code even if the original deck was built under older rules.
Two figures worth knowing as you plan for 2026:
- The California Building Code requires a minimum guardrail height of 42 inches for most residential decks more than 30 inches above grade, according to the California Building Standards Commission. If your expansion raises the walking surface or extends an elevated section, your railings must meet that standard.
- A deck building permit typically costs between $230 and $500 depending on location, according to HomeAdvisor. It is a small line item compared to the cost of tearing out unpermitted work later.
A good local deck builder handles deck permits and planning as part of the job, including drawings, footing details, and inspections. If a contractor suggests skipping the permit to save time, treat that as a warning about how they will handle the framing too. Unpermitted deck work also surfaces during home sales and inspections, which is exactly how many aging decks end up flagged in the first place.
Step 4: Design the New Footprint Around How You Will Use It
With the structure and permits sorted, shape the expansion around real use, not just extra square footage. This is where deck ideas earn their keep. A few simple deck ideas that work well for expansions in the Inland Empire climate:
- Extend toward shade or add a patio cover. Afternoon sun in Southern California is no joke; an expansion that bakes goes unused.
- Add a lower level instead of one big platform. Connecting two deck levels with a wide step creates separate zones for dining and seating without towering railings everywhere.
- Add or relocate stairs. Adding stairs to an existing deck on the yard side changes traffic flow more than almost any other feature.
- Widen instead of lengthen. Expanding a small deck sideways along the house often costs less than pushing deeper into the yard, since it can share the existing ledger line.
Consider material at this stage too. If your existing wood deck boards are near the end of their life, this is the moment to resurface the whole structure in composite decking so old and new sections match in color and wear. Mixing ten-year-old wood with new boards leaves a visible seam that never blends.
Step 5: Master the Process of Expanding an Existing Deck
Once design and permits are approved, the expanding existing deck process follows a predictable order. Knowing this sequence helps you judge whether a crew is doing the job right.
- Layout and footing excavation. The crew marks the new footprint, digs footing holes to the depth on the approved plans, and calls for the footing inspection before pouring concrete.
- Posts and beams. New posts go up on the cured footings with rated post bases, then the beam that will carry the new joists.
- Opening the old frame. Fascia and rim boards come off the existing deck edge so new framing can connect to solid, exposed lumber. Any rot discovered here gets cut out and replaced now, not covered up.
- Joist installation and tie-in. New joists are set level with the old ones and connected with joist hangers and structural bolts at the seam. This is the moment the step-by-step process of expanding an existing deck lives or dies; ask your builder to walk you through the connection hardware before decking covers it.
- Framing inspection. The city inspector reviews the structure before boards go down.
- Decking, railings, and stairs. Boards run across the tie-in seam, railings go up to the 42-inch standard where required, and stairs are framed with proper stringers and footings of their own.
- Final inspection and finish. For wood decks, staining and sealing the entire surface, old and new, brings the whole deck to one color.
Budget-wise, professionally built deck space averages $30 to $60 per square foot according to Angi, though tie-in work, demolition, and repairs to the old frame can push an expansion above simple new-build math. Get the repair scope in writing before work starts so hidden rot does not become a hidden cost.
Step 6: Protect the Investment After the Build
Finally, put the new deck on a maintenance schedule. Wash it each spring, reseal wood decking on the finish manufacturer's schedule, and check the tie-in seam and railing posts once a year for movement. An expansion done right, with its own footings and a bolted connection, should age at the same rate as a brand-new deck.
The short version for any Ontario, CA homeowner weighing this project: yes, you can add onto an existing deck, but only after an honest inspection, and only with the new section carrying its own weight. Follow the process of expanding an existing deck laid out above, insist on permits and rated hardware at the seam, and the bigger outdoor living space you are picturing will hold up for decades instead of years.
If you need custom deck design, Inland Empire Decks can help.
Prefer to talk it through? Call (909) 298-8578 — a quick call is usually the fastest way to get a straight answer for your situation.